
Hidden Springs Homestead may earn a commission for purchases made after clicking links on this page. Learn More.
Garlic is one of the easiest crops to add to your garden, and it doesn’t take much space or time to grow. The key is knowing when to plant, which type to choose, and how to care for it once it’s in the ground.
In this guide, you’ll learn the simple steps to grow garlic successfully — from preparing the soil and separating bulbs for planting, mulching, and storing your harvest. Not only is it easy to grow, but its flavor is unmatched compared to store-bought.
Why Garlic Is Easy to Grow
Garlic doesn’t need much care once it’s planted, which makes it a great crop for beginners. It grows well in small garden beds, raised beds, or even containers, and most varieties do well in cold weather.
Once you’ve planted the cloves and covered them with mulch, they will take root, and nature takes care of the rest over the winter.
Garlic also has a built-in advantage — it doesn’t attract many pests or diseases. Because it’s in the allium family, the same as onions, its strong scent naturally helps repel insects and small animals. With a little effort and good timing, you can have a good harvest each year.
The Best Time to Plant Garlic
Garlic grows best when it has time to develop roots before the ground freezes. In most areas, that means planting in the fall, four to six weeks before your first expected frost. Cool soil temperatures encourage root growth without pushing the plant to grow too soon.
If you live where winters are mild, like here in the South, you can plant garlic later in the fall and still get strong bulbs by summer.
For the best results, check your local frost dates and plan/count backwards for planting time. A few minutes of planning now will give your garlic a strong start and a dependable harvest next summer.
Different Types of Garlic and How to Choose
Before planting, it helps to know which type of garlic will grow best in your area. There are three main kinds—hardneck, softneck, and elephant garlic—and each has its own strengths.
1. Hardneck Garlic
Grows best in areas with cold winters, since colder temperatures are what make it germinate. It produces a firm stalk in the center, called a scape, which needs to be harvested so your garlic continues to grow. But these are not lost, as the scapes are great for cooking. The cloves are large and easy to peel, but hardneck varieties don’t store as long as others.
2. Softneck Garlic
Prefers milder growing temperatures and stores the longest. The bulbs have more cloves and no central stalk, making them a good choice if you want garlic that lasts through the winter months. Softneck varieties are the most often the type found in grocery stores.
3. Elephant Garlic
Not a true garlic, elephant garlic is more closely related to leeks. The bulbs are much larger and have a mild flavor. It’s a good option if you prefer a lighter taste or want something that makes an easy beginner crop.
When choosing what to plant, think about your climate and how you plan to use the garlic. Many gardeners grow both hardneck and softneck varieties to enjoy the best of both—flavor from one and storage from the other.
How to Prepare Soil for Planting Garlic
Improve Soil Quality
Garlic is a forgiving crop to grow. It will grow in almost any soil, but it does best in loamy, loose soil. Soil preparation is the key to growing large, healthy bulbs. Whether you’re planting in raised beds or directly in the ground, make sure the soil is well-draining and rich in organic matter. Heavy clay or compacted soil can cause small or misshapen bulbs, so take time to loosen it before planting.
Start by clearing the area of weeds and debris. Good to know: If your soil tends to hold water, work in a few inches of compost or aged manure to improve drainage and add nutrients.
You can also mix in a small amount of bone meal or a balanced organic fertilizer to give the cloves an early boost if you wish. I use only compost in the fall, but add organic fertilizer in late winter, just before the ground begins to thaw.
Prepare Rows for Planting Garlic
Garlic prefers soil that’s slightly acidic to neutral, with a pH between 6.0 and 7.0. If you’re not sure, a simple soil test can tell you whether you need to add lime or sulfur to balance it. Your local Extension office can provide a test kit and instructions.
Once the soil is prepared, rake it smooth and make shallow rows to mark where you’ll plant. Set each garlic clove pointy side up, about 6 to 10 inches apart in the row.
Cover the cloves with soil and compost so they’re planted about 2 inches deep from the tip of the clove to the soil surface. This depth helps protect them from cold weather and encourages strong root growth.
Lightly pat the soil to settle it, then water gently. The cloves will start developing roots before the ground freezes, giving your garlic a good head start for spring growth.
How to Prepare Bulbs For Planting
Before planting, take a little extra time to prepare your garlic bulbs. These simple steps help the cloves get a healthy start and lead to a better harvest.
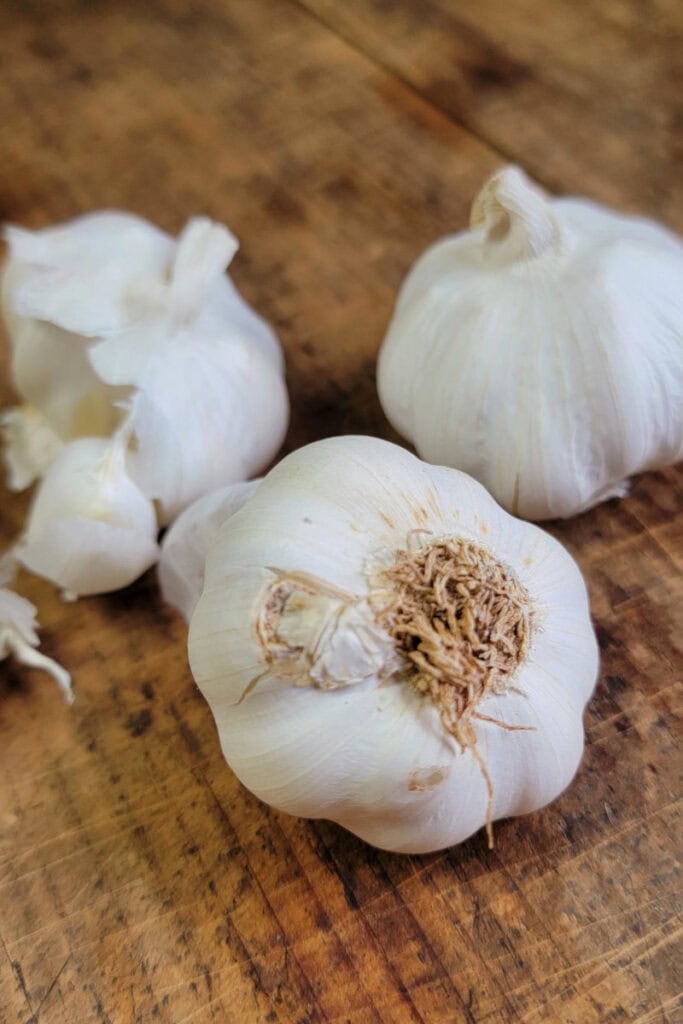
Begin by gently breaking apart the bulbs into individual cloves, keeping the papery skins intact. Choose the largest, healthiest cloves for planting—these will produce the biggest bulbs—and save the smaller ones for cooking.

Helpful to know: I’m often asked, “Can you plant garlic from the grocery store?” I recommend avoiding it. Most grocery store garlic has been treated to prevent sprouting, which can keep it from growing well in your garden and lead to disappointment. Instead, use bulbs purchased from a seed supplier or saved from a previous harvest.
If you want to give your cloves an extra boost, soak them before planting. Place the separated cloves in a bowl of lukewarm water mixed with a small amount of baking soda and liquid seaweed for about two hours. This step helps prevent disease and encourages strong root growth.

After soaking, lay the cloves out in a single layer and let them drain and dry slightly before planting. Handle them gently so the base of each clove—the flat bottom where roots form—doesn’t get damaged. They’ll be tender at this stage, so take your time.

Mulching and Providing Winter Protection
After planting, mulching is one of the most important steps for growing healthy garlic. A thick layer of mulch protects the cloves from cold weather, helps the soil hold moisture, and keeps weeds under control through the winter months.
To mulch: Spread a 4- to 6-inch layer of clean straw, shredded leaves, or another loose organic material over the bed. Avoid using materials that hold water, stay soggy, or compact easily, like grass clippings.
Helpful to know: If you live in a mild-winter area, a lighter layer — about 2 to 3 inches — is often enough. In colder regions, use a thicker layer to prevent cloves from being pushed out of the soil by freezing and thawing cycles.
Once the mulch is in place, water the bed lightly to help it settle. During winter, there’s nothing more to do until spring. The cloves will take root before the ground freezes, then rest until the weather warms and green shoots begin to appear.
Caring For Garlic Through the Seasons
Once your garlic begins growing in early spring, caring for it is simple. The main goals are to:
- Keep the soil evenly moist
- Control weeds and keep them out
- Give the plants enough nutrients to thrive and finish strong
Water garlic regularly, especially during dry spells. The soil should stay damp about an inch below the surface but never soggy, as too much water can cause the bulbs to rot. As the bulbs mature and the lower leaves begin to yellow, reduce watering to help the cloves dry and form tighter skins.
Weeds compete with garlic for nutrients and moisture, so keep them pulled while they’re small. Don’t allow them to grow larger—their roots become deeper and can damage garlic bulbs when removed.
Adding a light layer of fresh mulch in early spring helps keep new weeds from sprouting and maintains moisture as the weather warms.
Keep in mind: If you’re growing hardneck varieties, you’ll notice tall flower stalks called scapes forming in early summer. Remove these once they curl.
Use garden scissors to snip them off so the plant puts more energy into the bulbs below ground. The scapes themselves are excellent in stir-fries or pesto.
Garlic will continue to grow until the leaves begin to yellow and dry. This is your signal that harvest time is near.
Harvesting and Curing Garlic
Your garlic is ready to harvest when the lower leaves turn brown and dry, while the upper leaves remain green. Each leaf represents a layer of skin around the bulb, so harvesting at the right time helps protect the cloves and improves storage quality.
Use a garden fork or spade to gently lift the bulbs from the soil. Never pull them by the stalks—they can snap easily and damage the bulbs. Brush off any large clumps of dirt, but don’t wash them. Excess moisture can cause mold during curing.
Here’s what I do: After harvesting, I bundle garlic in small groups of five to seven bulbs and hang them in our wood room for about two to three weeks.
The space needs to be well-ventilated, with good airflow, but out of direct sunlight. A shed, covered porch, or garage works well, too.
Once the outer skins feel dry and papery, like onions, use a sharp pair of garden scissors to trim the roots and cut the stems to about an inch above the bulb. If you plan to braid softneck garlic, leave the stalks attached until after braiding.
Helpful to know: Garlic that isn’t fully cured will not store well, so allow plenty of drying time before moving it indoors for long-term storage.
When cured, store garlic bulbs in a cool, dark, and dry place. Mesh bags (I use these), baskets, or wooden crates work well to keep air circulating. Avoid sealed containers—these trap moisture and can cause your cloves to sprout or rot.
Final Thoughts
Garlic is one of the easiest crops to grow, especially for beginners. With a little preparation and care through each season, you can enjoy fresh, flavorful bulbs that taste far better than anything you buy at the store.
By planting at the right time, preparing healthy soil, and protecting your cloves through winter, you’ll set yourself up for a thriving harvest year after year.
Once you’ve mastered growing it, the next step is learning how to store it properly so your garlic lasts through the winter months.
Garlic is one of those crops that rewards patience. Once you’ve harvested your bulbs, keep them dry in a well-ventilated area so they last as long as possible.
Homegrown garlic not only adds flavor to your meals but also gives you one more crop you can grow yourself — and check off your grocery list.
More Related Posts


Dianne Hadorn is the owner of Hidden Springs Homestead, nestled in the hills of East Tennessee. A Master Gardener and lifelong homesteader, she teaches families how to grow real food, preserve it with confidence, and depend less on the grocery store. Through her practical, down-to-earth approach, Dianne has become a trusted source for beginners who want to build a sustainable lifestyle and fill their pantries with food they’ve grown themselves.